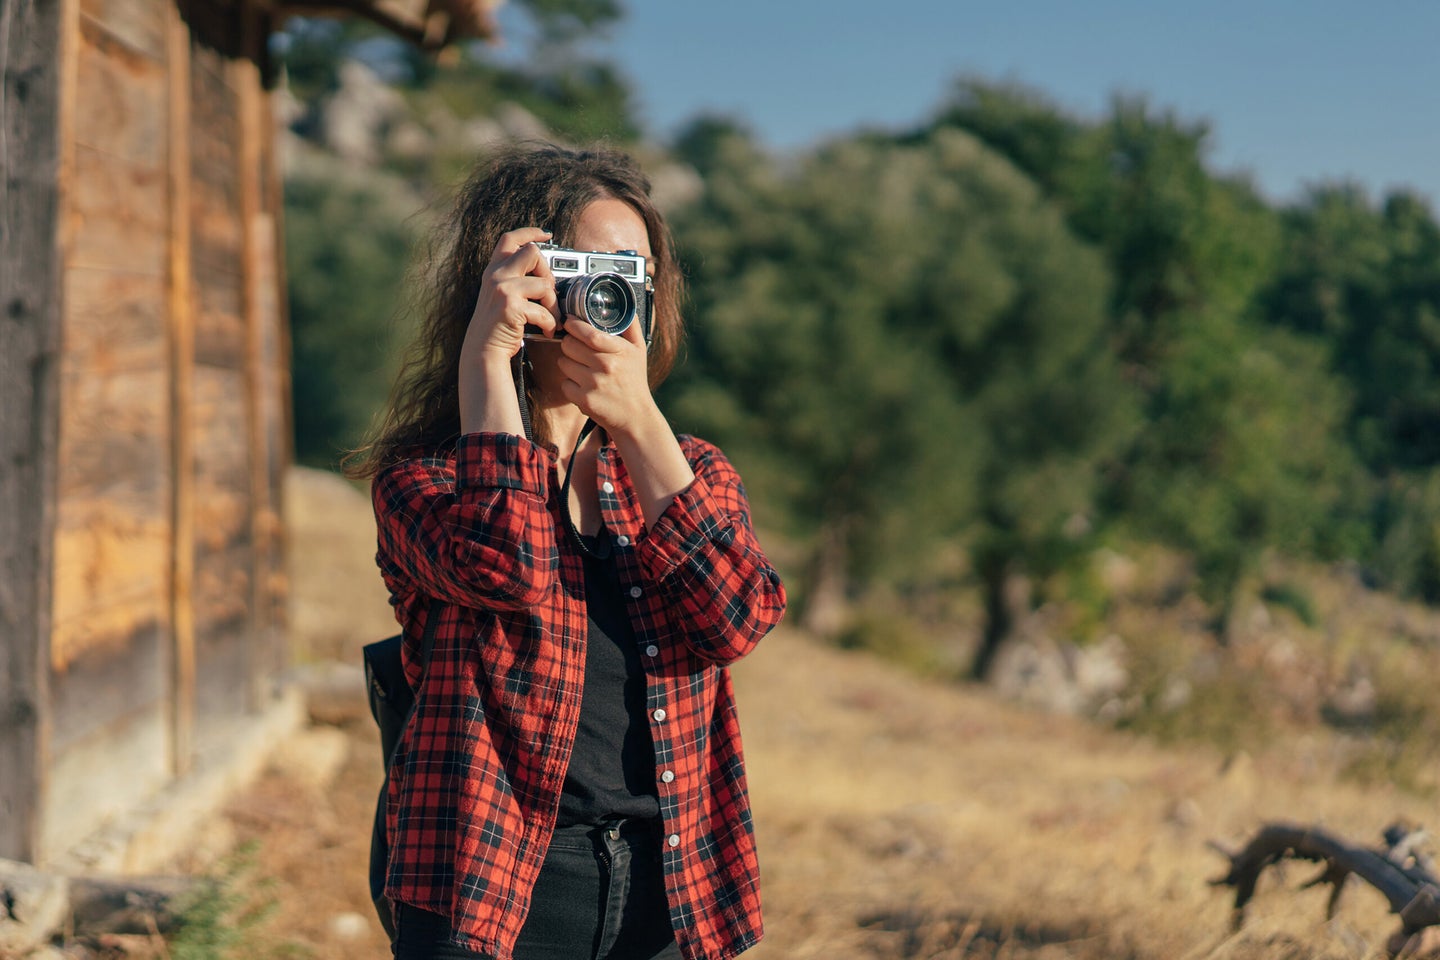
One of my many, many pet peeves is folks who discourage would-be analog photographers by telling them film is too expensive. They cite $25 rolls of slide film, $20 E-6 developing, and $40-per-shot drum scans, and declare film as a financial quagmire compared to “free” digital photos.
The fact is that while film can be expensive, it doesn’t need to be. My 35mm B&W photography costs me less than a quarter per frame—not just for film, mind you, but for film, processing, and scanning. And here’s the punch line: I’m actually spending more than I have to. If I did things differently, I could be shooting B&W film for less than 14 cents per photo. And while color film is more expensive, it need not cost much more than what I currently spend on B&W.
Stick with me through this article and a bit of math, and I’ll explain how I do it.
Step one: Save on film by rolling your own

Related – Affordable analog: 10 alternatives to high-priced film cameras
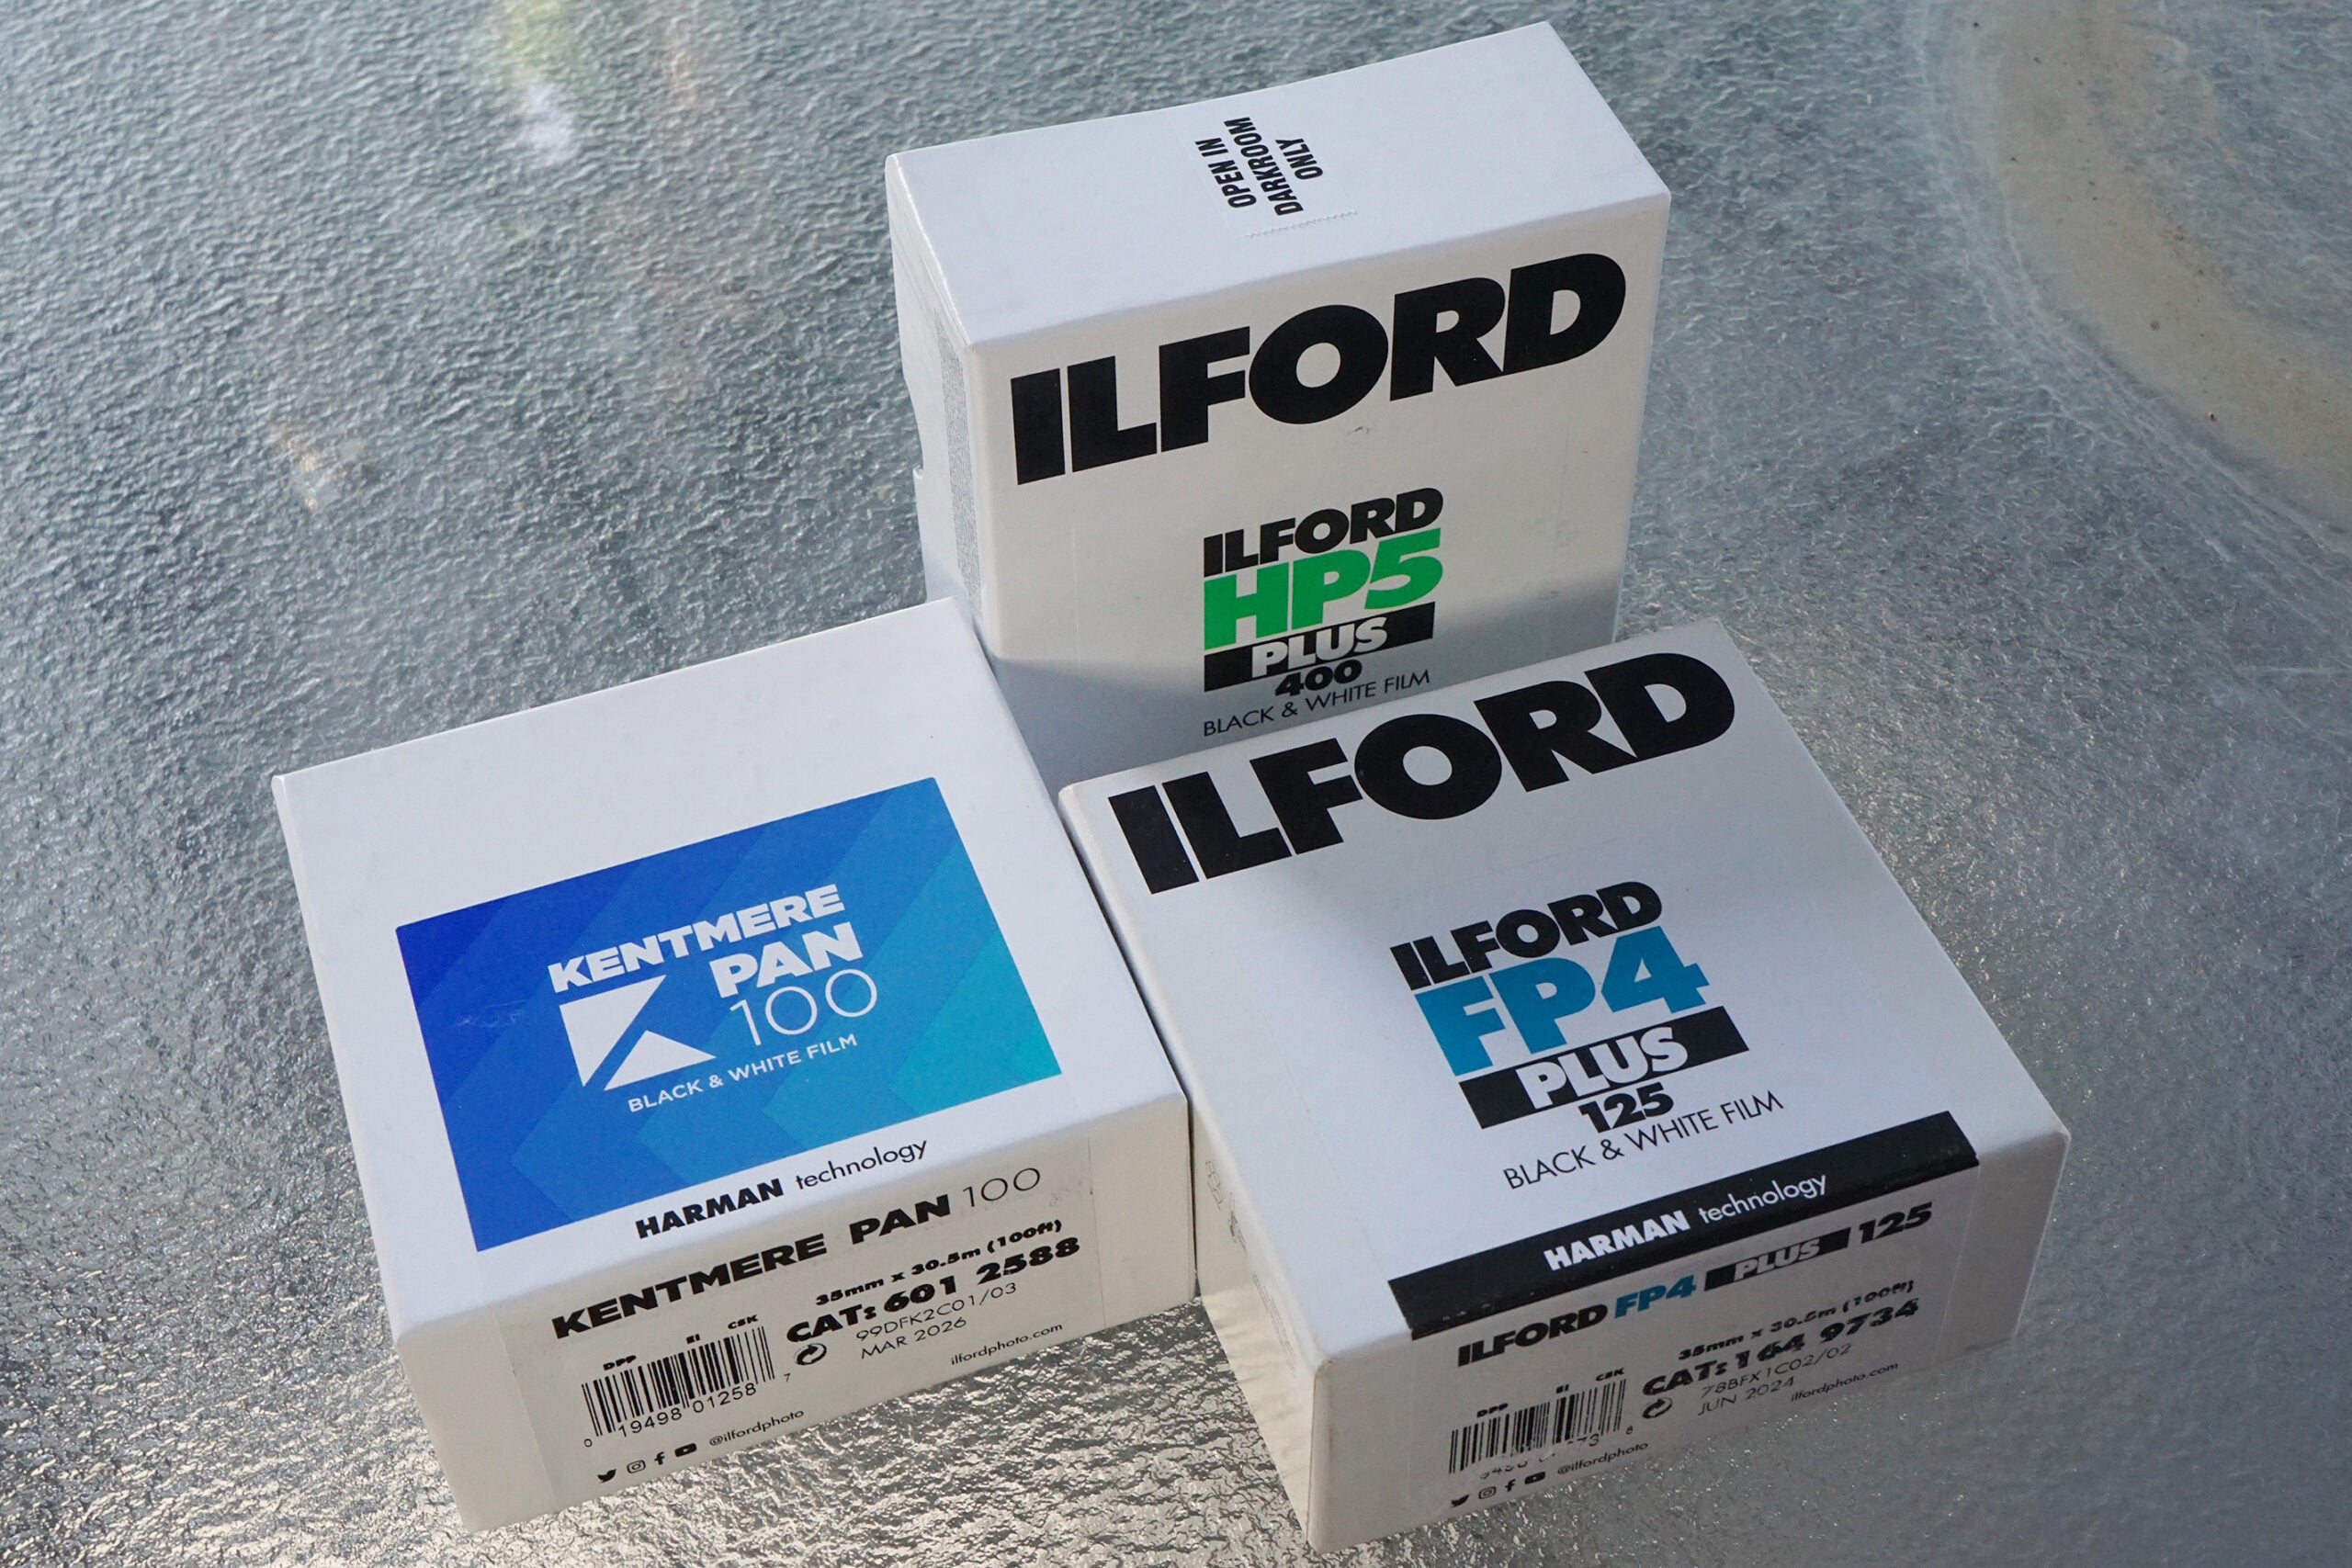
Many popular B&W emulsions are sold in 100-foot bulk rolls, which the photographer winds onto reusable 35mm cassettes. 100 feet yields approximately eighteen 36-exposure rolls. A bulk roll of my favorite film, Ilford HP5 Plus, sells for $89.99, which works out to $5 per 36-exposure roll (about $3 cheaper than pre-rolled HP5+) or 13.9 cents per photo.
My beloved HP5+ is hardly the least-expensive film on the market. I also like Ilford’s Kentmere 100. At ~$70.00 for a 100-foot roll, it costs just 11 cents per shot. Freestyle’s Arista EDU film costs $51.99 per 100’ roll—just 8 cents per exposure.
Bulk rolling has advantages beyond costs savings. Chief among them, you’re not stuck with 24 or 36 exposures. When I buy a used camera, I don’t need to burn a whole roll of film to test it out; instead, I’ll whip up a 5-exposure test roll. For general use, I load around 25 exposures per roll, though this does increase my development costs slightly, as you’ll see in the next section.
What about equipment? You’ll need film cassettes, which sell for around $1.25 each. They last for years, making their per-shot costs basically negligible. Some photographers use a bulk loader to wind film onto the cassettes. A loader costs around $50, and if you only keep it ten years—chances are it’ll last five times that long—it’ll add about a third of a cent per frame to your film costs. Me, I don’t use a bulk loader; I simply spool up my film in my dark bag.
My film cost (Ilford HP5 Plus): 13.9 cents per picture.
Buying color film
Color film for still photography is difficult to find in 100’ rolls; however, you can still save money by buying in quantity. A five-pack can save a couple of bucks per roll, and if you can find a dealer who will sell you a “brick” of film, you can drop your costs much closer to bulk-roll levels.
Step two: Save on film development by doing it yourself

Related: How to change the light seals in an old film camera
I develop all of my own B&W film, and not just because it saves money. I genuinely enjoy the process. If you’ve never done it, don’t be intimidated—B&W development is dead-easy and hard to screw up. Also, it’s a huge cost savings over lab development.
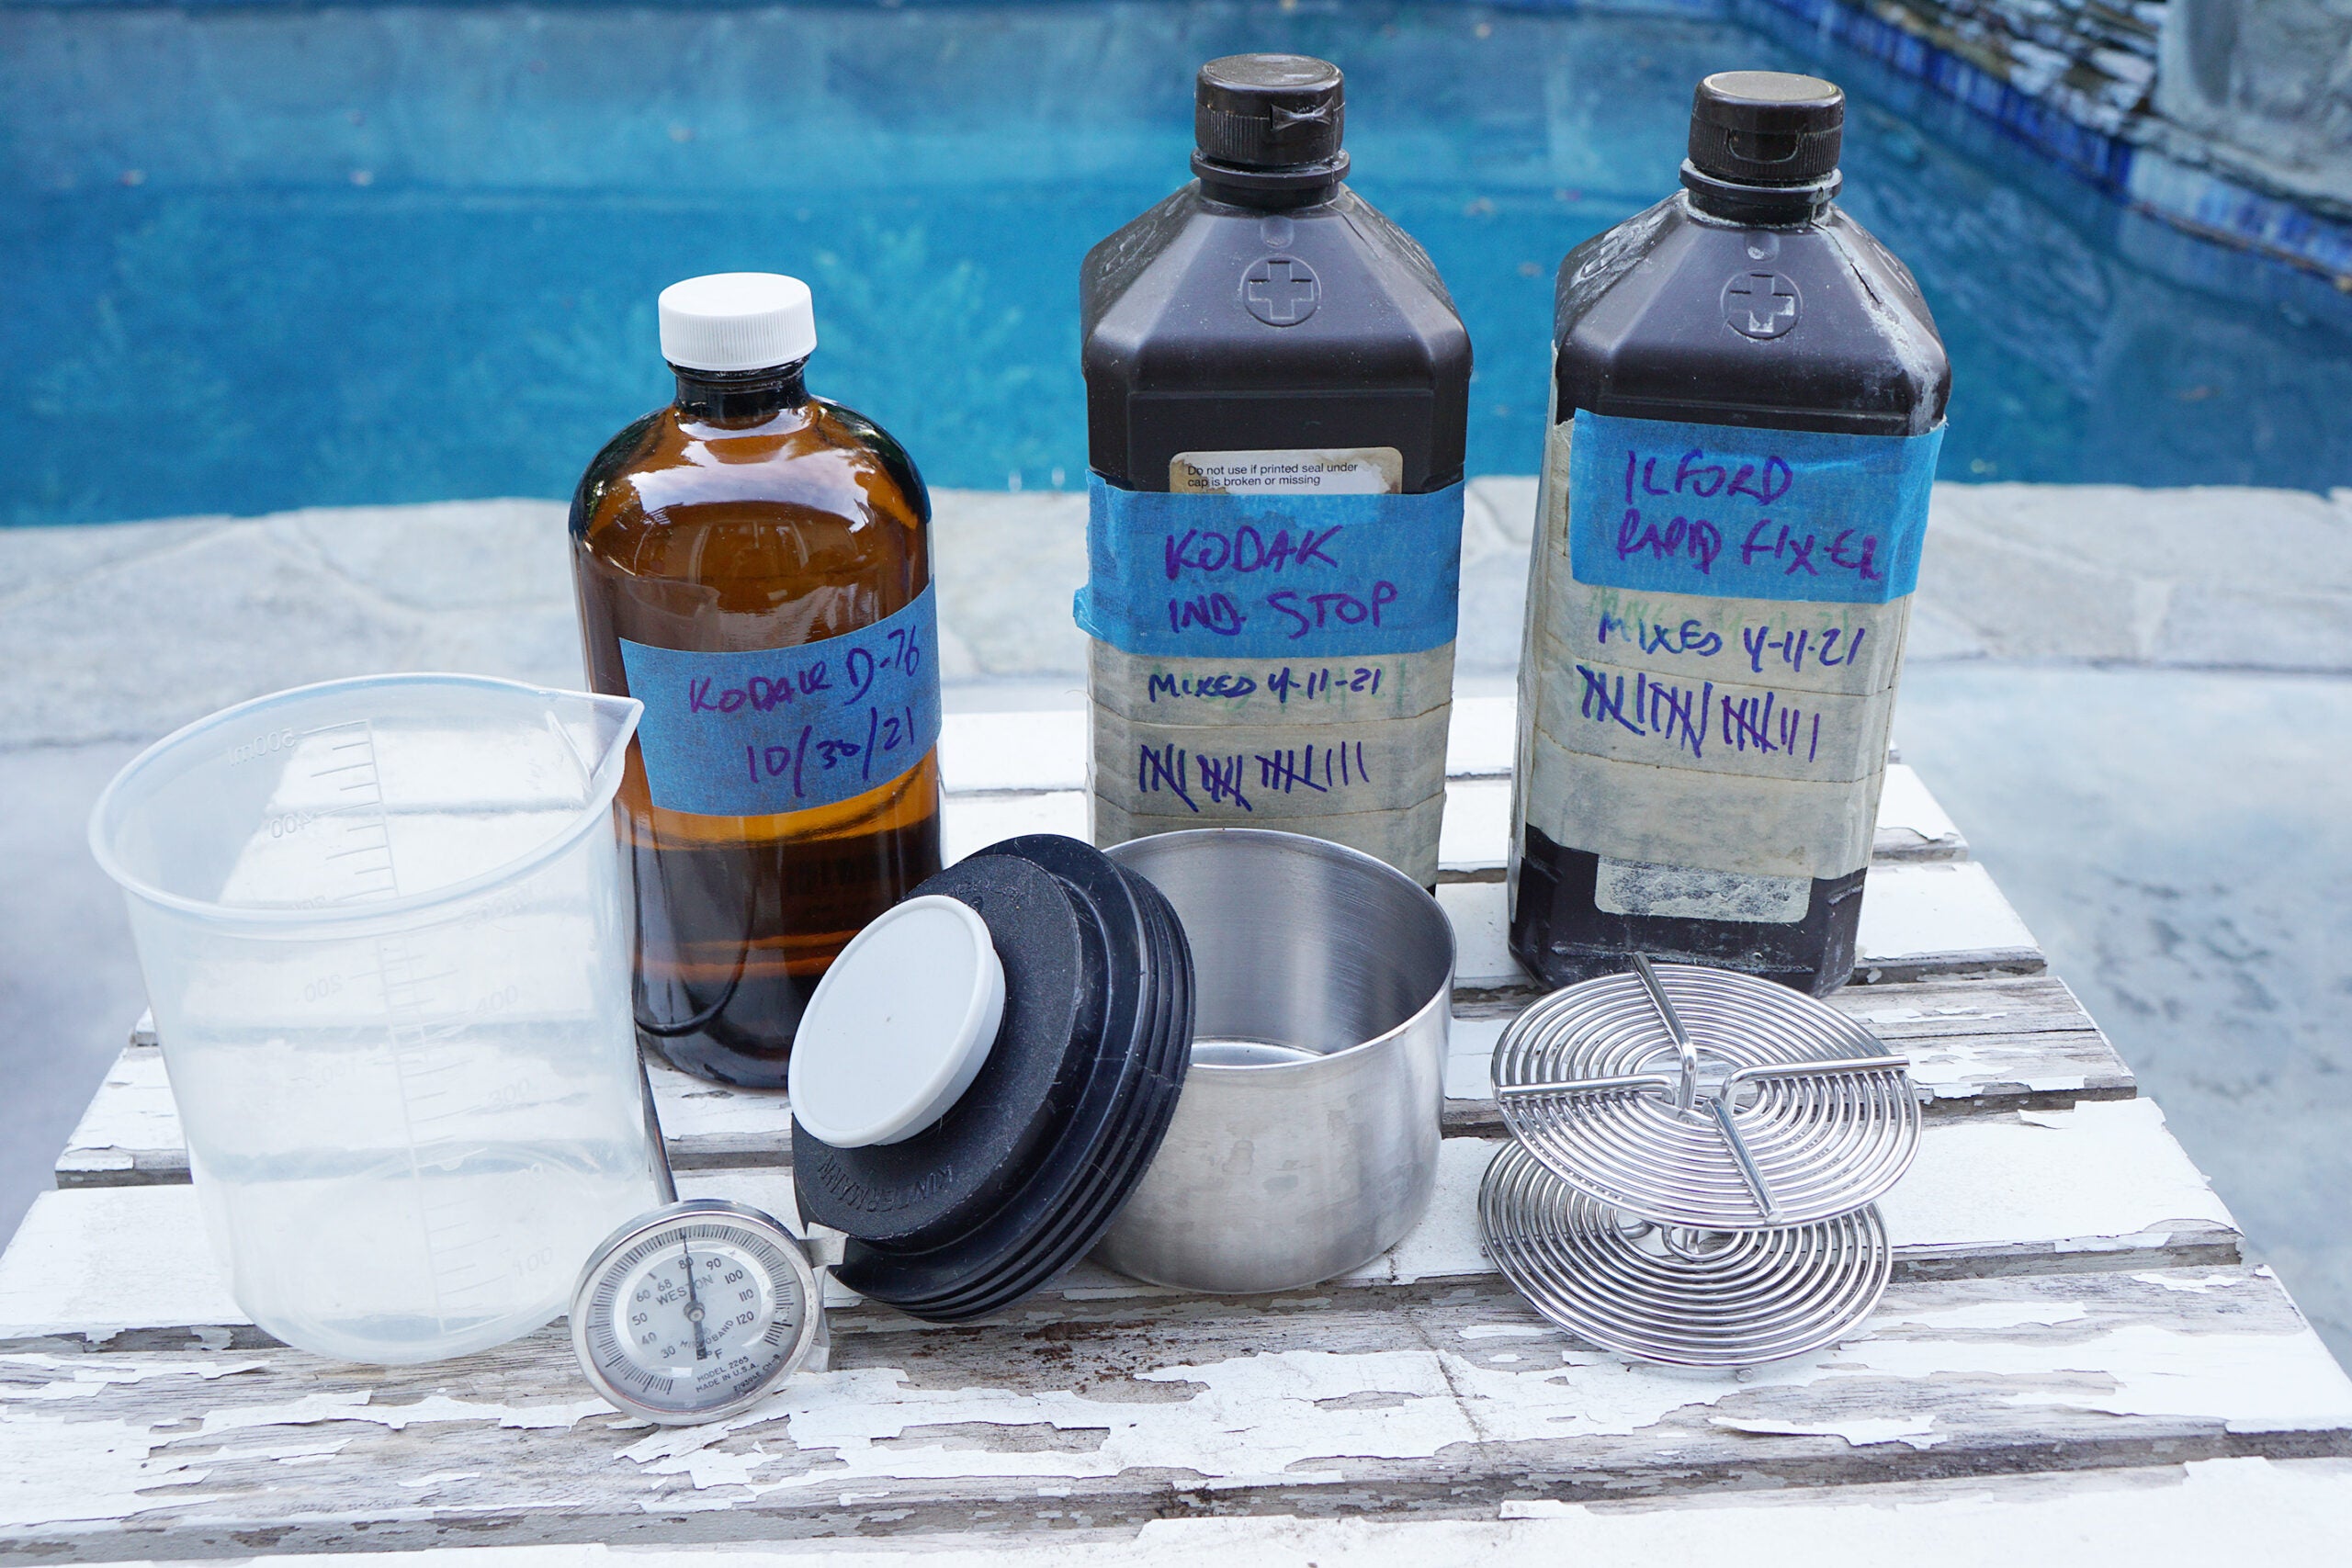
For those unfamiliar, there are four (or so) types of chemicals needed (developer, stop bath, fixer, and a washing agent) and some basic hardware. Let’s look at the costs of each.
Developer
There are several choices of B&W developer; I’m very fond of Kodak D-76. It’s sold as a $9.99 package of powder, which mixes with a gallon or so of distilled water (about 99 cents). For most of my developing, I dilute this stock solution 1:1 (so, another 99-cent gallon of distilled water). If I use my single-roll developing tank, that’s enough for about 23 rolls of film, which comes out to 52 cents per roll. That’s 1.4 cents per frame for 36 exposures, but since I shoot 25-exposure rolls, my cost is 2.1 cents per frame.
Granted, I don’t always spend that much. I have a two-roll tank that uses about 25% less developer per roll than if I develop two rolls individually in a single tank. Besides D-76, I also use Kodak HC-110, a liquid-concentrate developer that costs about 35 cents per roll. And there are cheaper alternatives to Kodak developers: LegacyPro’s L-76, for example, is identical to D-76 and sells for $6.99. (As a former resident of Rochester, New York, I use Kodak developers out of loyalty—or perhaps guilt for shooting Ilford film.)
Other Chemicals
I use Kodak Indicator Stop Bath and Ilford Rapid Fixer, both sold as concentrates that are mixed with water. Stop costs 0.9 cents per roll; fixer, 11.2 cents. I use Kodak Photo-Flo 200 as a rinsing aid, which adds another 3.8 cents per roll. That breaks down to 0.4 cents per roll for 36 exposures or just under 0.7 cents for 25-exposure me.
Again, there are more cost savings to be had. Some people use water instead of stop bath (or less than a penny a roll, I think it’s worth splurging on). I change my stop and fixer every 25 rolls, but they could probably go longer—there’s an easy test for fixer (drop in a scrap of unexposed film and time how long it takes to clear), and Kodak stop bath changes color when it’s done (hence “Indicator” in its name). As with developers, there are cheaper alternatives from brands like LegacyPro and Arista.edu.
Equipment
I was lucky to have my developing tanks, reels, and thermometer given to me. This meant I only had to buy a dark bag/film changing bag (a light-proof bag with arm-holes, used to transfer the film from the cassette to the developing tank), measuring beakers, and bottles for mixed chemicals. (I buy brown bottles of hydrogen peroxide and empty them out.) In all, I spent less than $40, but if you’re starting from scratch, you might spend closer to $150. Most of this equipment will last forever, but if you only get ten years out of it, and like me, shoot about 35 rolls per year, that’ll average out to about 2 cents per frame. (For me, the costs are half-a-penny per photo.)
My developing costs (D-76, single-roll tank, 25 exp): 3.3 cents per photo.
DIY developing for color film
Color film development used to be so cheap and widely available that doing it yourself wasn’t considered cost-effective. Today you can buy C-41 (color negative) developing kits that contain all the needed chemicals in a single box. Color is a bit more fiddly to develop than B&W—temperature control is paramount—but not much more difficult. Equipment is the same as for B&W, plus something to keep the chemicals warm. Many DIYers use a sous vide immersion cooker, which costs around $75.
CineStill sells a one-liter C-41 kit that costs $27.99 and processes 8 rolls—$3.50 per roll (way cheaper than commercial developing!) or 9.7 cents per frame. Arista EDU makes a one-gallon kit that develops 32 rolls; at $79.99 it breaks down to $2.50 per roll or about 7 cents per frame. (Color processing chemicals, once opened, have a short shelf life, something to keep in mind when choosing quantities.)
Shooting slides? There are development kits for E-6 processing, too. An eight-roll kit from Arista EDU costs around $5.50 per roll, while a 32-roll kit brings the costs down to $3.59 per roll.
Step three: Save On Scanning With Your Own Scanner

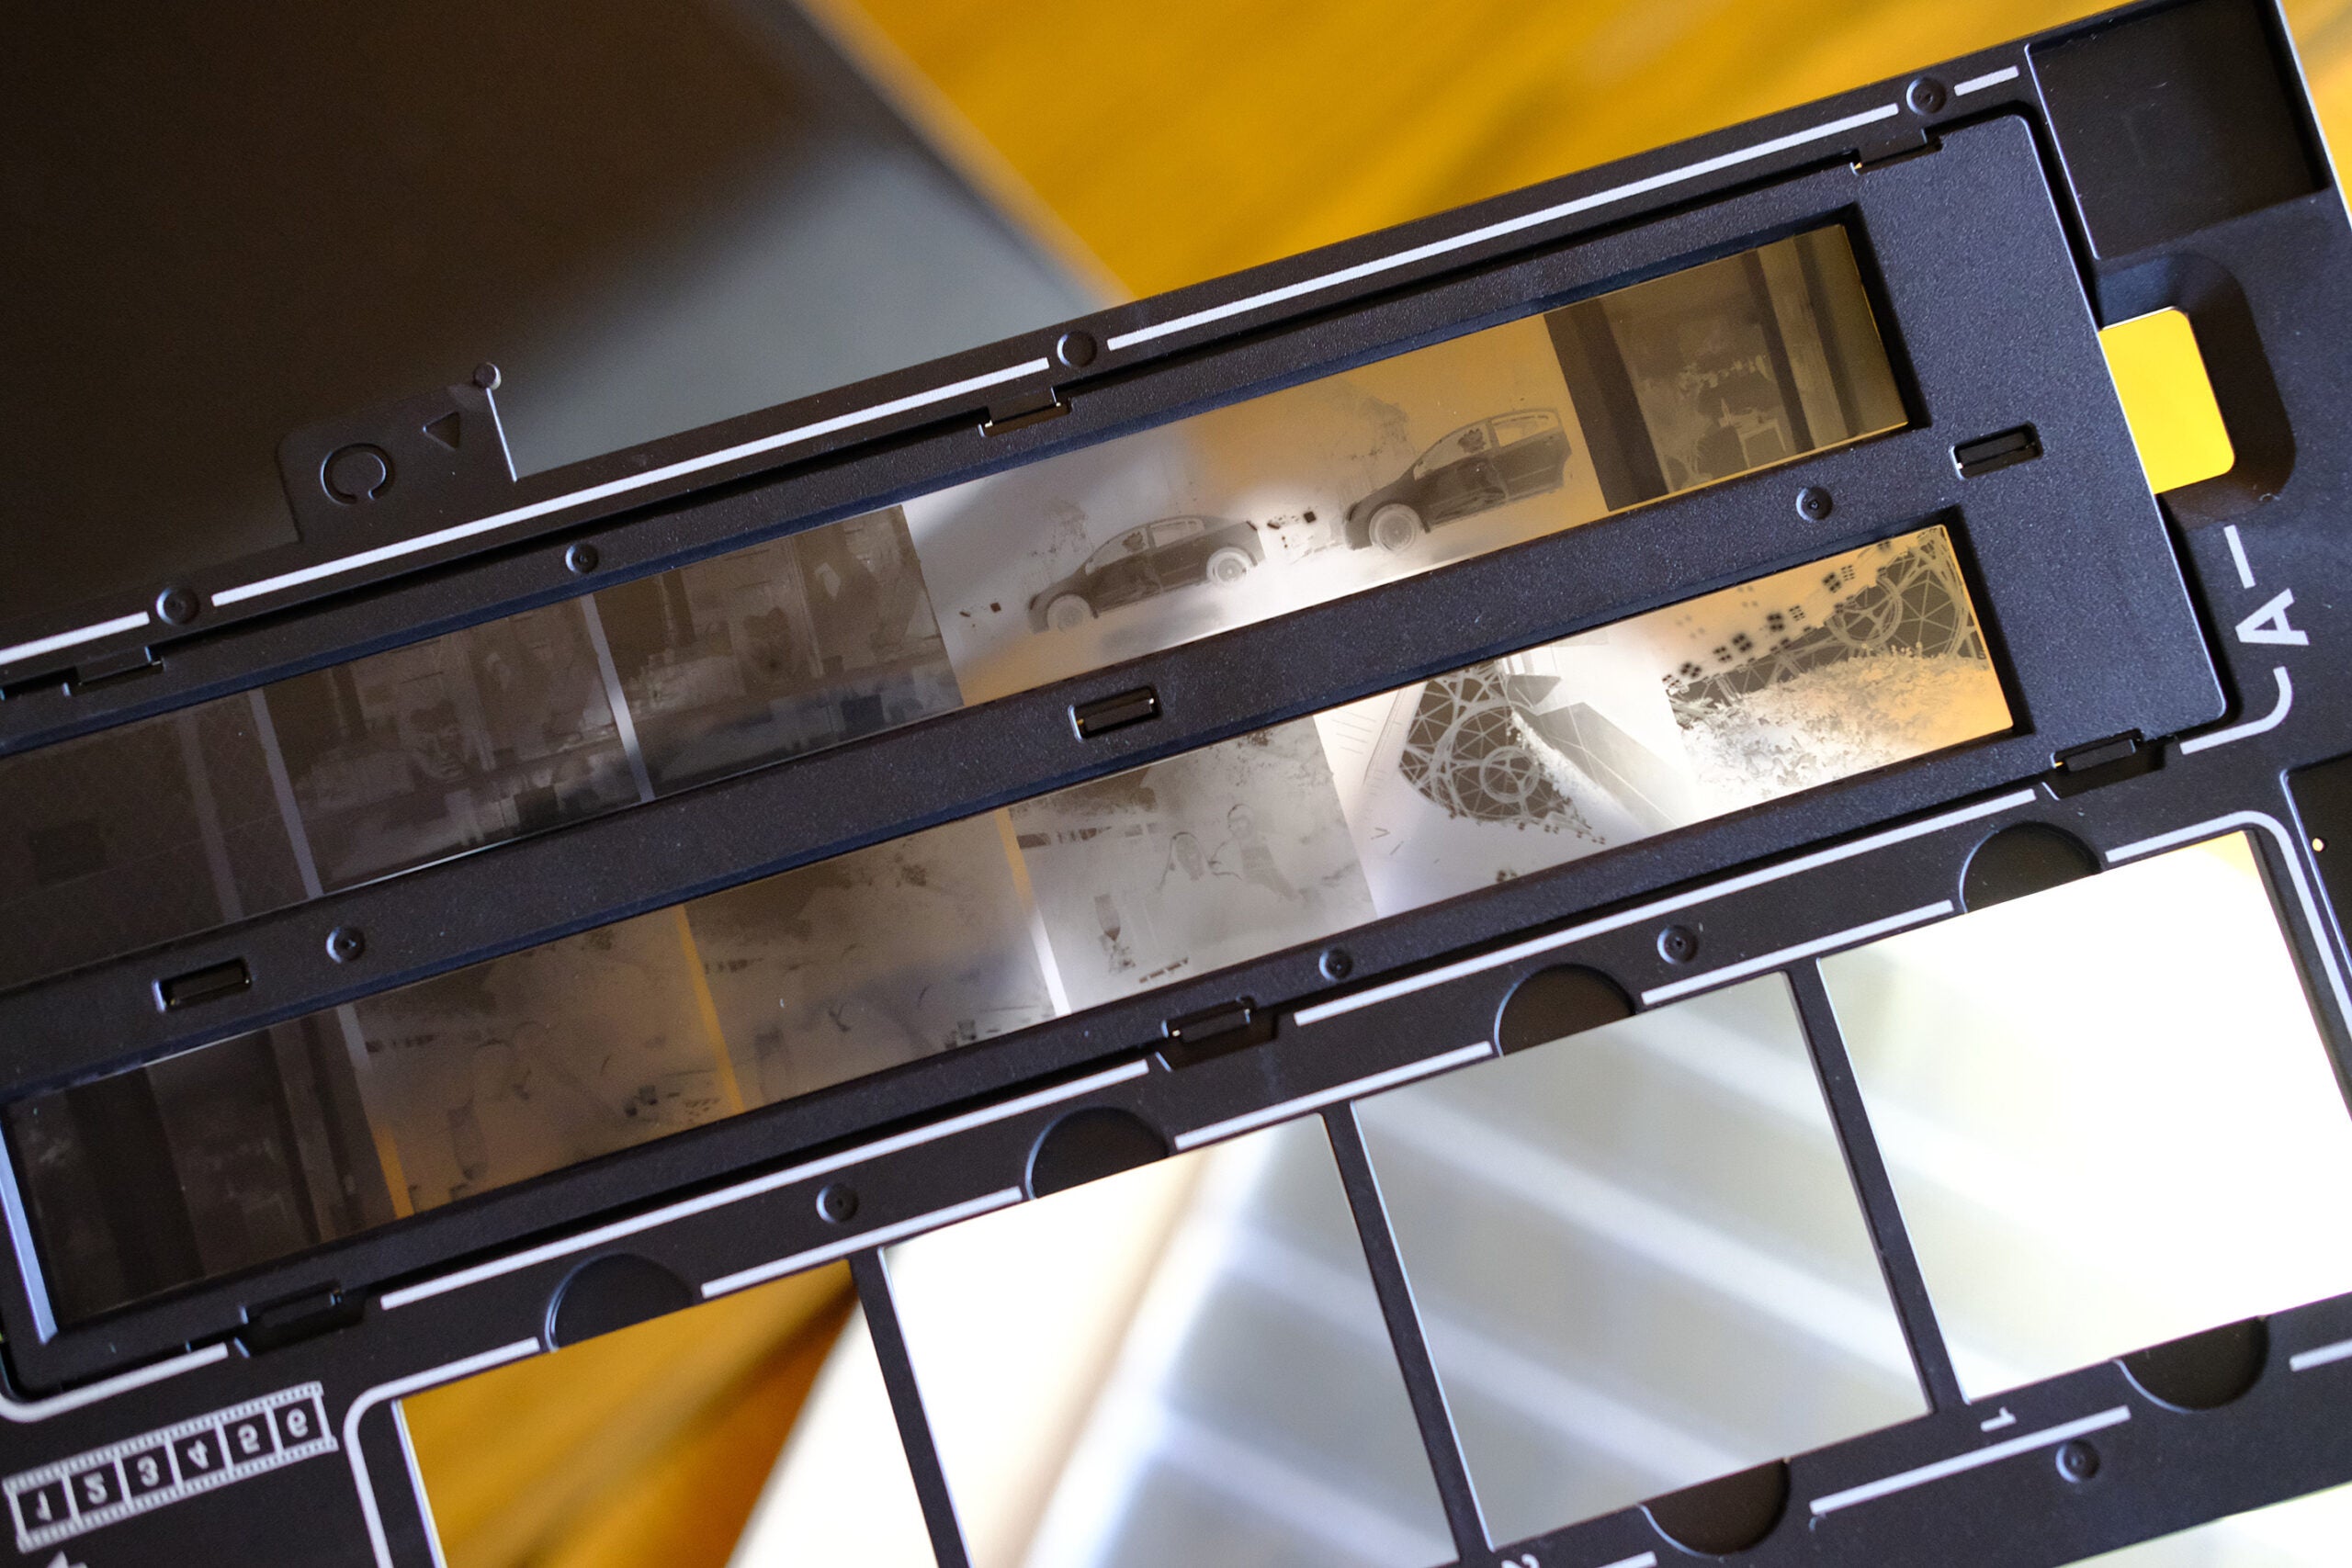
I scan all my own film with an Epson V550 flatbed scanner (which has since been replaced by the Epson V600). Some photographers buy third-party scanning programs, but I’ve been happy with Epson’s own software, which I find works well for B&W, color negatives, and color slides. Obviously, the Epson can’t compare to a drum scanner, but I am very happy with the results I get—I think they’re fine for editing and sharing photos online.
I paid $195 for my V550. If I only get five years out of it—I’m hoping for more!—and if I shoot 35 rolls per year, my scanning costs are about $1.11 per roll. At 25 exposures per, that’s 4.4 cents per scan. Of course, if I keep the Epson longer, or if I shoot more film, that lowers my per-shot costs even further.
My scanning costs: 4.6 cents per photo.
Adding Up My Costs—and How I Could Save More
If I shoot a 25-exposure bulk-loaded roll of Ilford HP5 Plus (13.9 cents/frame), develop with D-76 (3.3 cents), and scan with my Epson (4.4 cents), I’m at 21.6 cents per frame. I buy my supplies locally, so I have to add 9.5% for sales tax. Grand total: 23.7 cents per frame, or $5.93 to shoot, develop and scan a 25-exposure roll of B&W film.
Still, I could be spending far less. If I shot Kentmere 100, loaded each cassette with 36 exposures, developed with LegacyPro L-76 in my two-roll tank, and kept my scanner for ten years, my costs would drop to $4.91 per roll—just 13.6 cents per photo. To put that in perspective, for the price of a new Nikon Z7 kit, I could shoot, develop and scan one roll of film per week for twelve years—and still have some cash left over to buy a decent 35mm camera.
Color is more expensive, but not overly so. With bulk purchasing and home developing and scanning, it’s easy to get color negative film down to $10 per roll (27.8 cents per shot) or less. Even the cost of pricey slide film can be greatly reduced.
So the next time you hear someone disparaging film as prohibitively expensive, please help me out by setting them straight. In fact, you might want to ask how often they replace their digital rigs and how much that costs—and then explain how much money they could save by shooting film.
The post How to shoot film on a budget appeared first on Popular Photography.