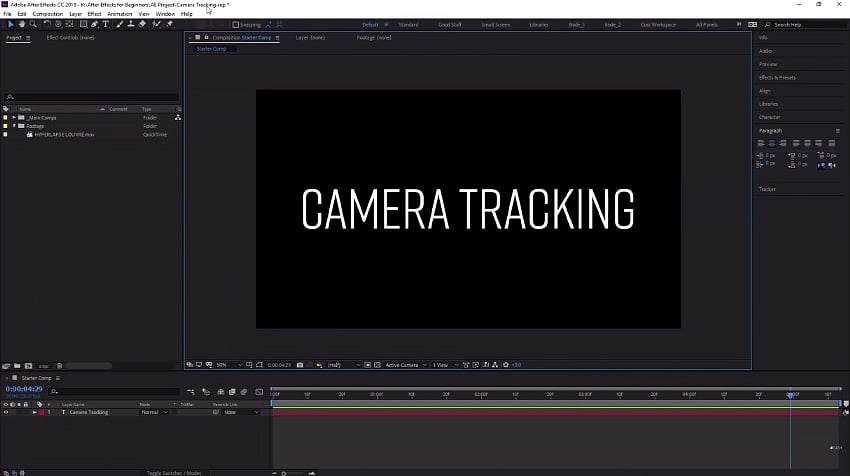


In this tutorial, you’ll learn the basics of camera tracking. To follow along, make sure to open up the camera tracking.aep file, which you can download here.


You’re also going to need the HYPERLAPSE LOUVRE.mov file which you can download from Envato Elements:


To start, I’m going to create a new composition with my footage. Click and drag the footage onto the New Comp button to do this.


Open up the Tracker panel by going to Window > Tracker.


In the Tracker panel, click on the Track Camera button.


That’s going to put a 3D camera tracker effect on this layer, and After Effects will get to work analyzing this footage.


You can do other things as it’s analyzing the footage and working out this track because it’ll take a bit of time.
After Effects analyzes the video sequence and extracts the camera motion and 3D scene data. This allows us to composite 3D elements over 2D footage, in addition to adding 2D elements to the 3D environment.
So if you click on the Camera Tracker and scrub in the timeline, you will see that there are hundreds of trackers that have been applied to the footage. For the most part, these are locked to certain parts of the footage.


For example, there are several trackers on this building, and as you scrub along, those trackers don’t move around much compared to the ones in the foreground.


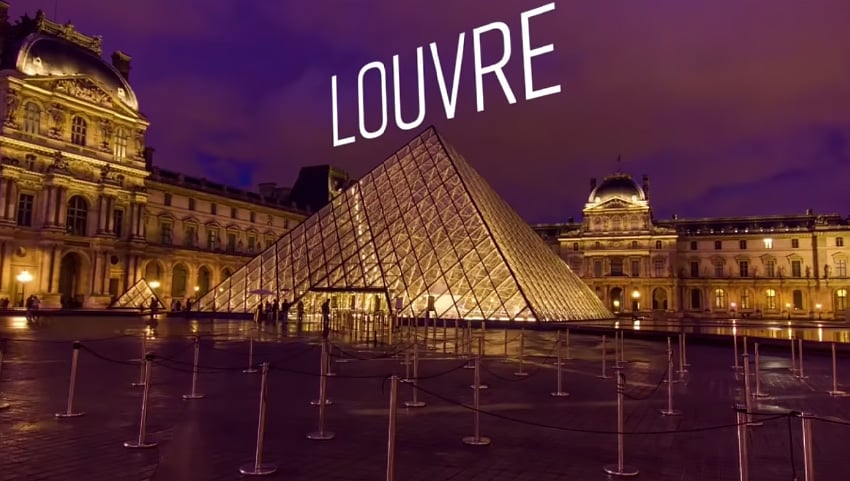
Now I’ll show you how to make text look as if it’s hovering directly above this pyramid. To do that, I need to do two things:
- Create a camera.
- Insert some text.
So let’s scrub along the timeline and find somewhere that has a decent amount of tracking points at the very top. This is going to work because the distance between these tracking points is relatively minimal.
So if you click at the top of the pyramid, it will create a selection between three tracking points.


If you want to select more, which is sometimes beneficial for getting a better track, you can just draw a selection around multiple tracking points.


Click on the Create Camera button.


Right-click here, and you’ll see all the options that you can create. Let’s select Create Text.


And you’ll see now that it has created some text that looks as if it’s part of the scene. Click on the play preview button to see what it looks like.


It looks as if it’s tracking pretty well. However, the orientation isn’t great. For this particular shot, I’ll pick a section where the front is pretty flat, and then I’ll try to line up the rotation of my text to that.


Select the text layer and press R to bring up the rotation, and then you can adjust the orientation to make it look better. You can also adjust the scale and position.


Congratulations


Congratulations! And that’s how you can use After Effects for Advanced Camera Tracking. Now that you’ve learned this technique, check out some of the other tutorials we have on Adobe After Effects below.
I hope you’ve found this tutorial useful, and I’ll see you next time on Envato Tuts+!


