In the most recent update to Lightroom, Adobe included an AI-powered noise reduction feature that works really well (they are tearing it up with their AI stuff). Here’s my first look at it and how to use it:

STEP ONE: Here’s our original Raw image, and at this size, you don’t see the noise very much, but if you zoom in to 100%, there’s noise a-plenty!

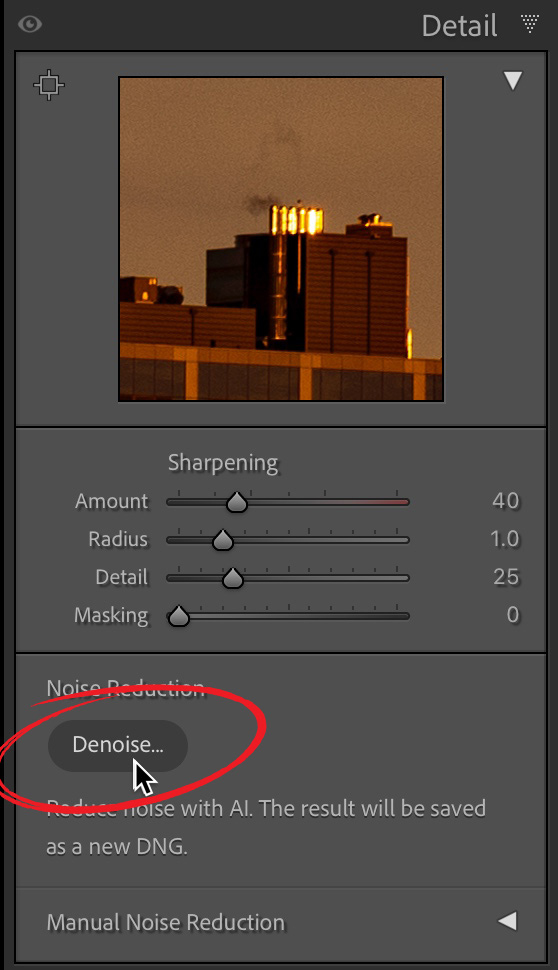
STEP TWO: Scroll down to the Detail panel, and at the bottom of the panel, under Noise Reduction, click on ‘Denoise’ (as shown circled here in red).

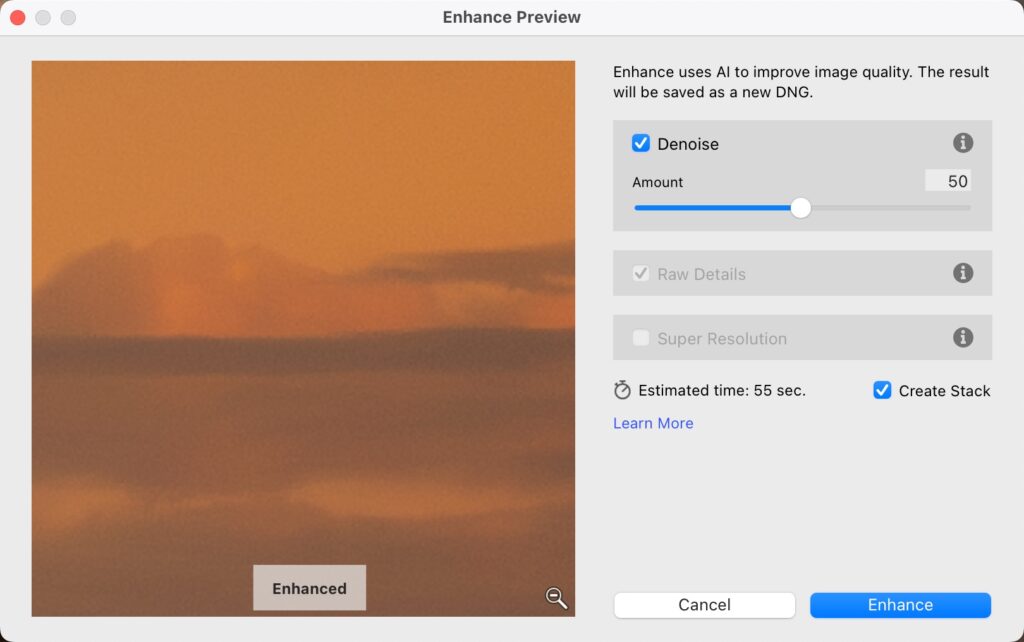
STEP THREE: The Enhance Preview window appears (seen above), and Denoise will be selected by default (as seen here). There’s an amount slider so you can increase or decrease the amount of noise reduction you’d like to apply, and it also shows the estimated time it will take to apply this fix (in this case, it estimates 55 seconds).

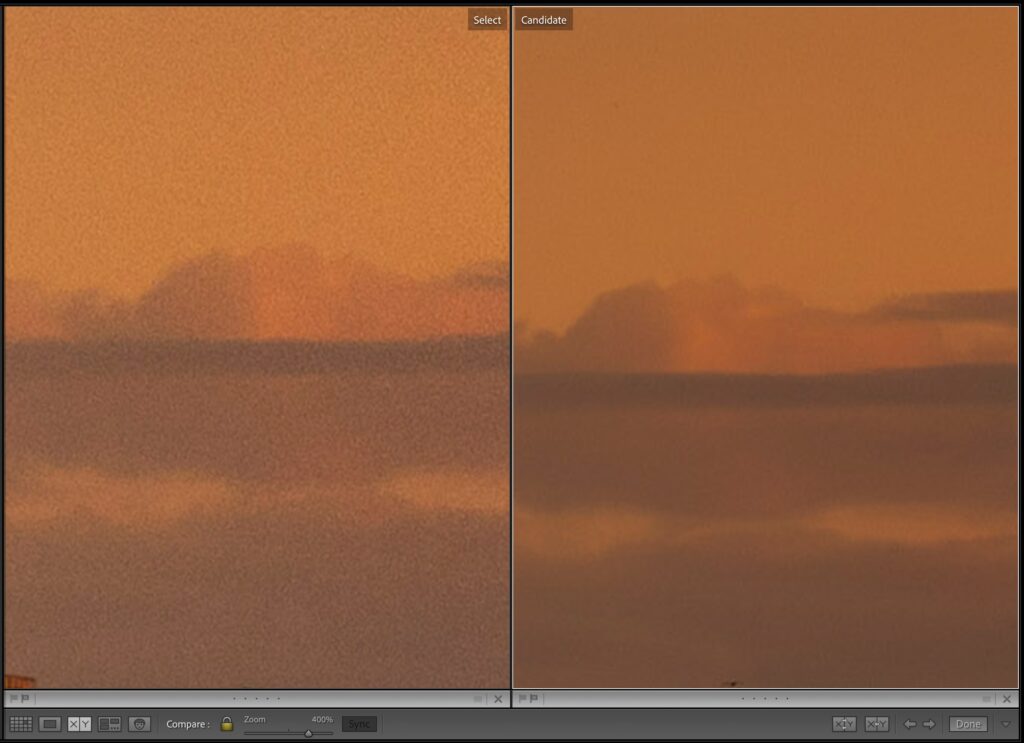
STEP FOUR: Here’s a zoomed-in before and after so you can see the results. I used Compare mode to show this because when it does its thing, it creates a new separate Raw DNG image, so you have your original and a new file). This is those two side-by-side). You can see it did a pretty nice job removing the noise (better than anything we had built in within Lightroom or Photoshop before.

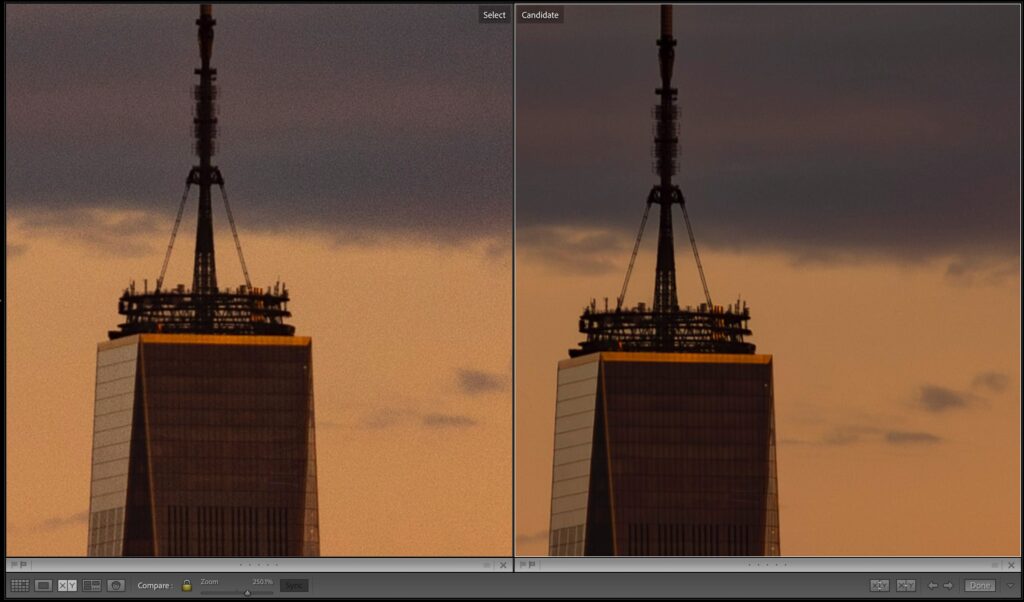
Above: here’s a zoomed-in look where you can see it did a really nice job of holding the detail.
Next time you have a noise image, give this a try – I think you’ll be pleasantly surprised with the result. Let me know what you think. Have a great Monday, everybody!
-Scott
P.S. The Lightroom Conference kicks off this afternoon with a special pre-conference session I’m teaching on “Lightroom Classic for Absolute Beginners” – then starting Tuesday, it’s two full days, two full training tracks, amazing instructors, and so much to learn (plus, the entire conference is archived for a full year for you to stream on demand). Don’t miss you – tickets and more info at bit.ly/3BqMWvN – see you online.
The post First Look at Lightroom’s New Built-in AI-Powered Noise Reduction appeared first on Lightroom Killer Tips.
