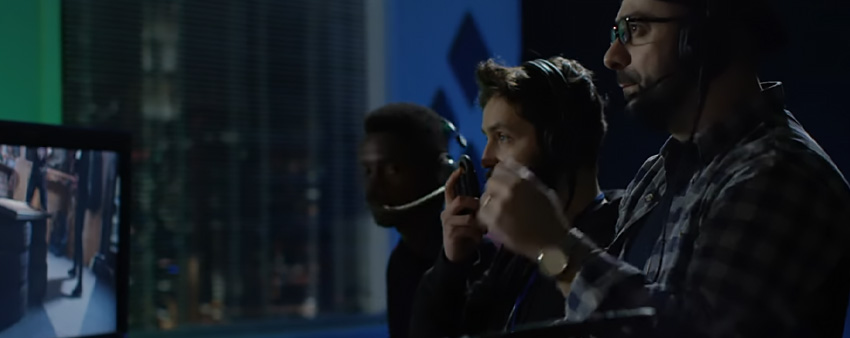
In this tutorial, we’ll be looking at some tips and tricks we can employ on set, in order to get the best out of our lighting tools that we have on hand, when creating content on a budget.


First up, let’s talk about clean plates and taking the extra time and effort on set to capture a clean plate of your shot, in order to use this to your advantage in post.
Create the Clean Plates


Let’s say you have a limited number of lights on hand but your shot calls for you to shoot towards a window with your subject in front of that window.


Now to combat the sunlight coming through the window, you would generally fill the space and illuminate the subject with as much light as you can and then expose your camera to match. By bringing up the ambient light in the space and on the subject whilst also filtering the sunlight coming into the space by using the fusion on the outer side of the window and neutral density filters on your lens.
But what if you only have a small LED light and a relatively wide shot? Well, this is where clean plates can be your best friend.


First things first, you need to set up the composition of your shot. Get your actor in place, get all the background dressed know exactly what you want and, make sure you’re happy with it because we’ve got to shoot a few versions of this.


If you need to bring in extra lights into the frame of the shot and luminate the actor’s face properly, make sure you do that now, it’s totally okay and we’ll remove those later on.
Once you’re finished and you’re happy with the actor’s performance you can remove them from the frame.


But don’t move anything else and keep the camera focused where the actor was. The next thing you need to do is if you moved any light sources into the frame or into the shot, you just need to walk them slightly back.


Walk them just outside of your frame but trying to keep as much illumination present as possible, get a clean plate of this shot.


Once you’ve got this clean plate with the light stands moved, but keeping the interior exposure at the same level as when your actor was in shot, it’s time to now expose the camera down to match the light coming in through the window. You’ll notice that you lose all detail in the interior shadows here.


Again, make sure that your camera is still focused in the same place as it was when your actor was in frame. If that’s all done correctly on set then the next steps are to bring it all together in After Effects.
We’ll show you how to do that in the next tutorial ‘How to Composite Multiple Videos Using Clean Plates in After Effects’. See you there!


I hope you’ve enjoyed this tutorial on how to light video scenes on a budget. If you’d like to learn more cool After Effects skills, we’ve got some more tutorials for you:


