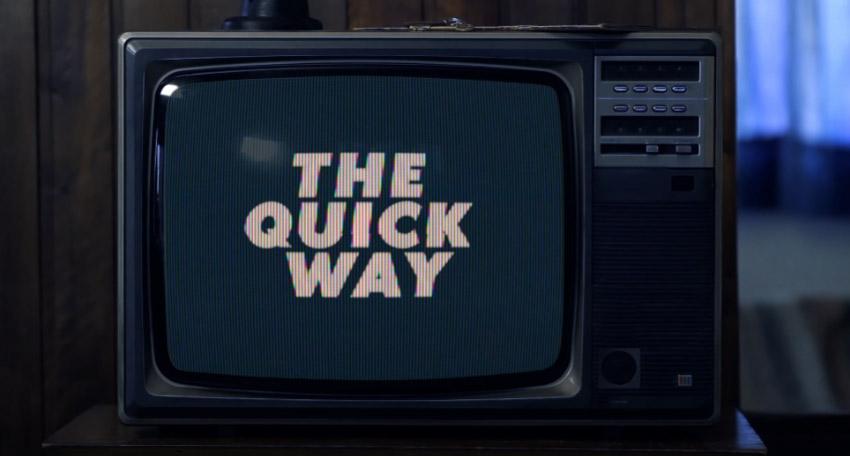


In this tutorial we’ll be learning the quick and easy way to use CRT and VHS overlays in Adobe After Effects in order to create this cool retro look for your project!


What You’ll Need
To follow this tutorial, first we’ll need a CRT overlay pack which we can download from Envato Elements! Below, you’ll find some links to assets that you may find useful for this tutorial:
- CRT Overlays Pack
- Dynamic Bright Balls on a Moving Wave Surface
- VHS
- Retro VHS Tracking Damage
- Old Vintage Television Screen Closeup


How to Use CRT & VHS Overlays in After Effects
Go to your Adobe After Effects project and import the CRT overlays into your project. You can do this by going to File > Import > File (Control – I) and then choose the overlay videos you want to use.


Once they have been successfully imported into your project, simply locate the one you want to use from the project panel and drag it into your composition. You need to place the overlay on top of your existing footage.


You may also need to adjust the scale and position of the overlay.


Change the mode to Overlay to apply the effect! That’s as simple as it needs to be. You’ve got a CRT overlay now with a little bit of a VHS vibe that you can use on top of any footage.


If you want a different CRT look, simply repeat the steps above with a different overlay.


Conclusion


So now that you have a good understanding on how to apply a CRT & VHS Overlays in After Effects, why not experiment with other packages that you can find on Envato Elements! Alternatively, if you want more control over the way the effect looks, we can learn how to create this effect from scratch! Stay tuned for the next tutorial where we will learn how to do this in ‘How to Create CRT and VHS Looks in After Effects’!


